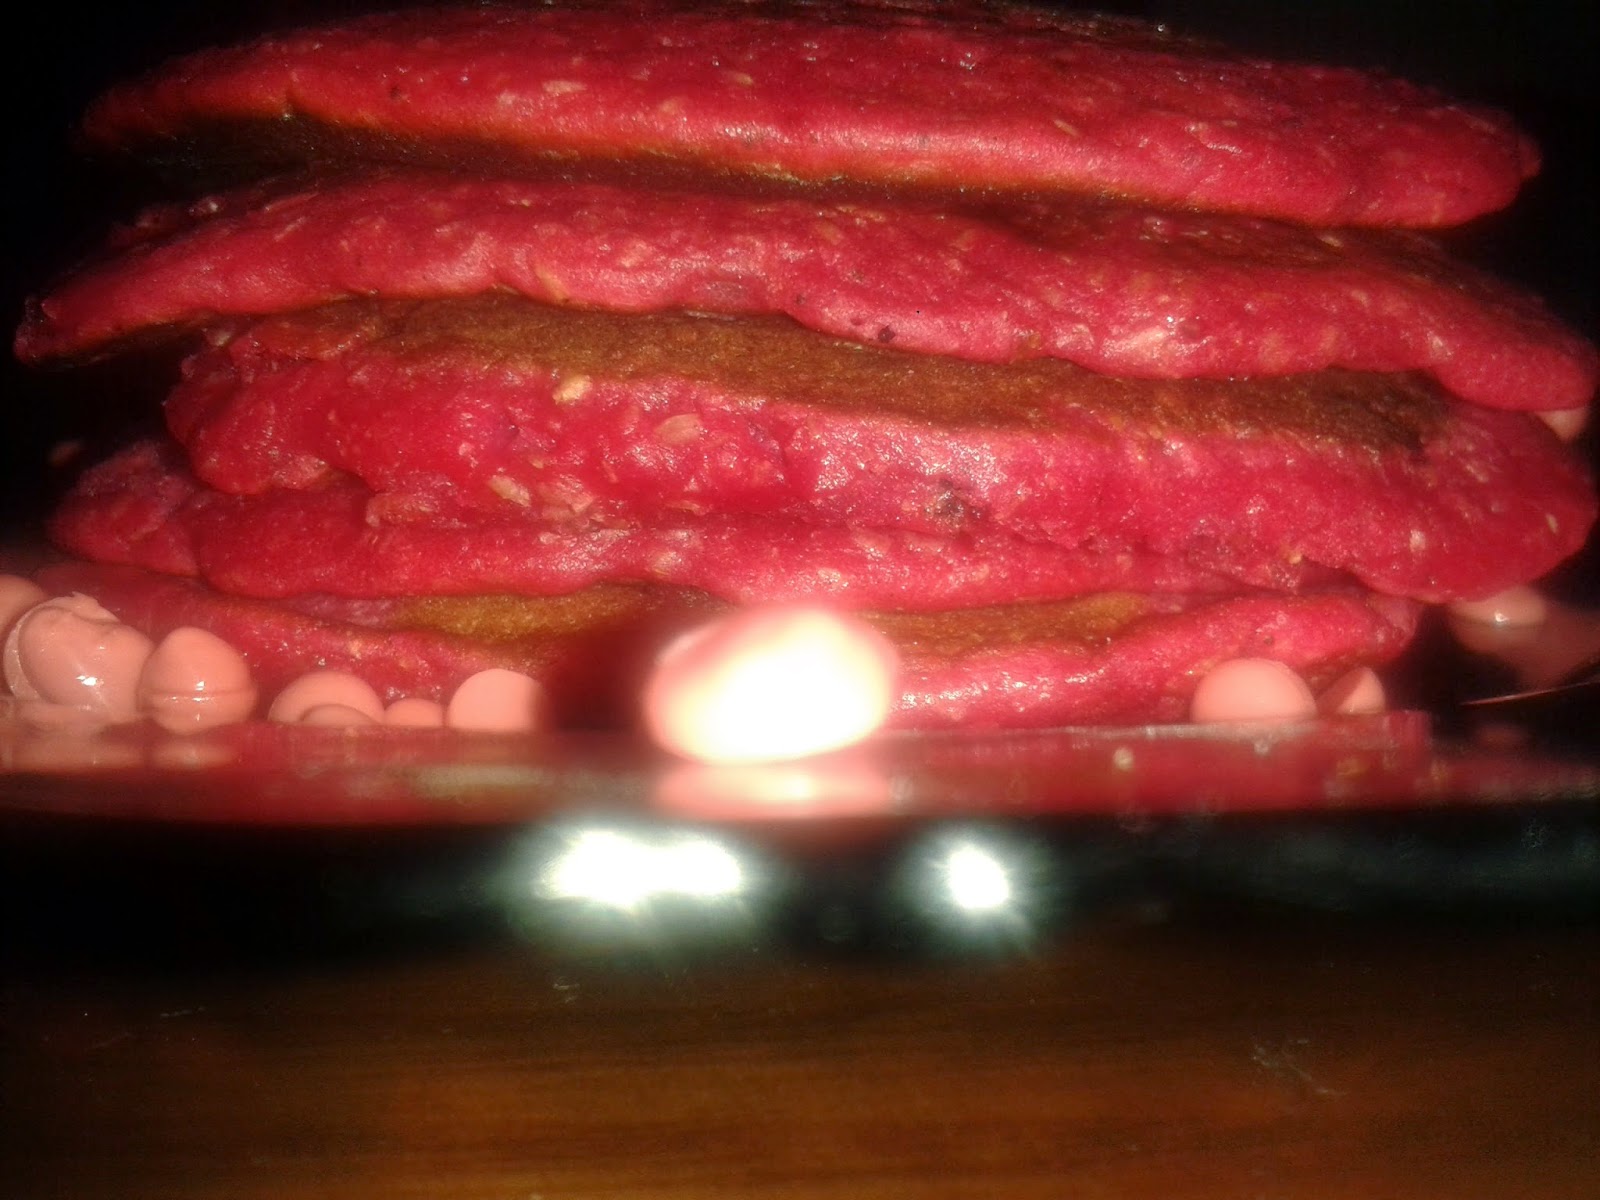
The weekend is the perfect excuse to have pancakes for breakfast. They are a little celebratory and essy to make, so what's not to like?
I wanted to add a little twist to this weekend's pancakes, so I thought of adding some red food colouring for a sexy effect. Heck, it did work!
This recipe is a staple in my house, and I like to play around with it every now and then. You can get really creative with its add-ons and decorations.
As usual, excuse the crappy photo.
I sprinkled some strawberry chocolate chips on top, just for the sake of the pic, and Lily ate them as soon as the flash went off!
This recipe yields 4 - 5 small pancakes. You can, of course, double the ingredients to get double the number of pancakes.
Here's what you'll need:
- 1 cup wholewheat flour
- 2 tsp sweetener/honey
- 1/2 tsp baking powder
- 1/4 tsp baking soda
- 1/2 tsp vanilla
- 1/2 tsp cinnamon (or more)
- 1 egg
- 1 cup milk
- 1 tbs apple cider vinegar
- 2 tbs oil (coconut is lovely here)
- 1/4 red food colouring (or until you get a vibrant red-coloured batter)
- Optional: Raisins/fruit pieces/nuts
Procedures:
1-In a small bowl, combine milk and vinegar, set aside until milk curdles.
2- In another bowl, combine flour, sweetener, baking powder and soda and cinnamon.
3- In a small bowl, whisk the egg, vanilla, oil and curdled milk until well-incorporated.
4- Gradually pour the liquid mix onto the dry mix while whisking slowly.
5- Add your food colouring in small amounts and whisk after every addition until you reach that red velvet colour. Don't over-mix or the pancakes would be tough. The batter should be a little lumpy and bubbly.
6- You can now add whatever you'd like, i.e. raisins/fruit/nuts/dark chocolate chips
7- Lightly brush a nonstick pan/griddle with coconut oil. Heat it over medium heat.
8- Ladle the batter and pour into the pan. I like to keep my pancakes small and even by using a 1/3 measuring cup as a ladle.


