Showing posts with label recipe. Show all posts

Sunday, November 8, 2015

Fast and Easy Wholewheat Pizza Crepes

Hello everyone,

If you are a crepe lover who is trying to stay healthy or lose weight, I feel your struggle, fellow foodies. Today's recipe is just for you, and hits the spot face on.

The filling is completely customizable. This time I settled on pizza topping, but you can put whatever you feel like or have at hand.
These are really quick and pretty much foolproof, so they're perfect for breakfast, and for those days you have no time to cook. My kiddo loved them, so they're super kid-friendly as well. 

Fast and Easy Wholewheat Pizza Crepes


For the crepes you'll need:

  • 2 eggs
  • A dash of salt, pepper
  • 1 1/4 cups skimmed milk
  • 1 1/2 cups wholewheat flour (or 1 cup wholewheat and 1/2 cup refined flour)
  • 1 tsp honey
Filling:
  •  Olives, chopped
  • 1 large tomato, sliced
  • 1 large bell pepper, sliced
  • low-fat feta /shredded mozzarella/cheddar cheese (or a mix of all)
Instructions:
  1. In the mixer, add eggs, salt, pepper, and mix well.
  2. Add milk and honey, continue mixing.
  3. Gradually add flour on a low speed. Don't over-mix.
  4. Brush your griddle/pan with a little sunflower/canola or olive oil and put it on medium heat. Once hot, ladle your crepe mix in the middle and swirl it around to cover the whole pan. Leave for 10 to 30 seconds or until the crepe sets.
  5. Flip the crepe when it turns golden to cook the other side. While the other side is cooking, add your filling. Start with a little cheese all over, then layer your vegetables and anything else you would like to add on one half of the crepe. Finish off with more cheese, then fold the crepe in half, unfilled side up. Press on it with your spatula to seal it.
  6. Once the cheese starts to melt, flip your closed crepe on the other side so the cheese on that side melts as well and seals the filling in. Now fold your crepe once more to form a triangle.
  7. Your crepe is ready.
Bonus tip: Wrap your crepes in foil to keep any drippings to a minimum. Thank me later :)

P.S. Please excuse the very unprofessional photo, but I was wrestling a toddler to keep her off the dish for 5 seconds while I was taking it. Yikes!

Enjoy!

Love,
Sarah
xoxoxo

Friday, August 29, 2014

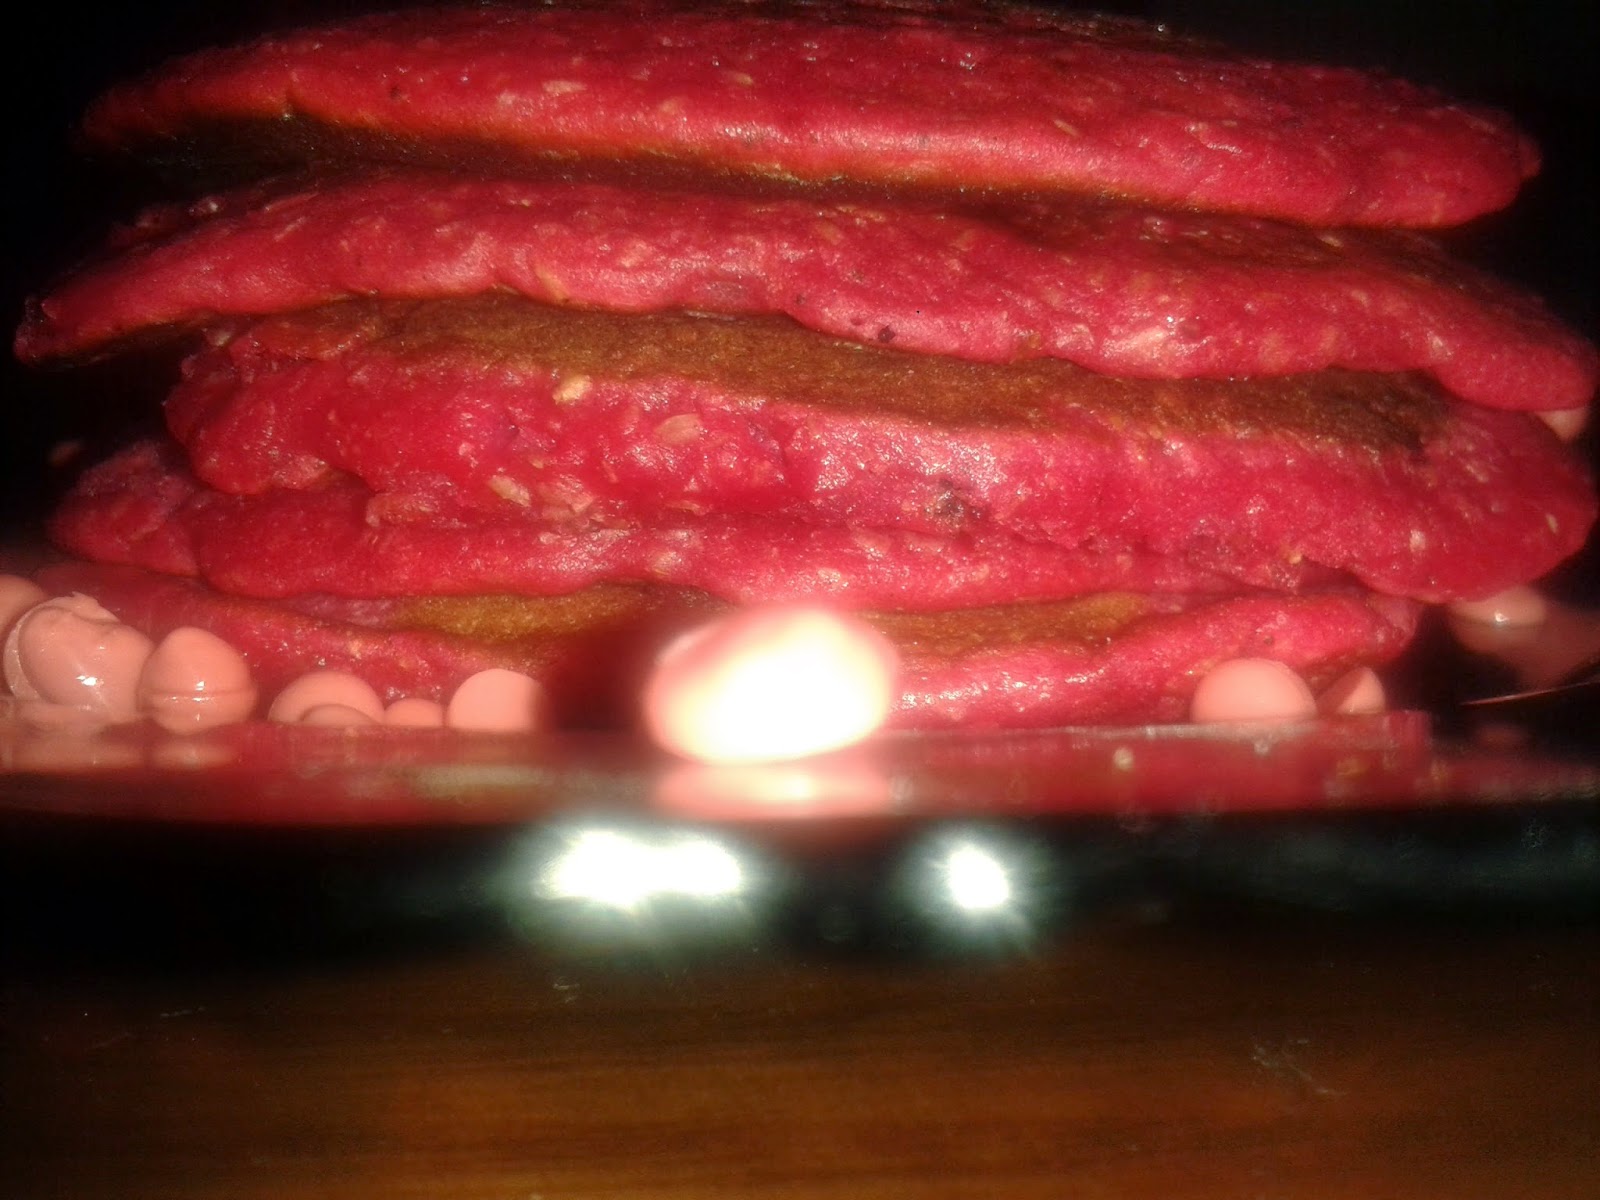
Healthy Red Velvet Wholewheat Pancakes

The weekend is the perfect excuse to have pancakes for breakfast. They are a little celebratory and essy to make, so what's not to like? 
I wanted to add a little twist to this weekend's pancakes, so I thought of adding some red food colouring for a sexy effect. Heck, it did work!
This recipe is a staple in my house, and I like to play around with it every now and then. You can get really creative with its add-ons and decorations.

As usual, excuse the crappy photo.
I sprinkled some strawberry chocolate chips on top, just for the sake of the pic, and Lily ate them as soon as the flash went off!


This recipe yields 4 - 5 small pancakes. You can, of course, double the ingredients to get double the number of pancakes.

Here's what you'll need:

- 1 cup wholewheat flour

- 2 tsp sweetener/honey

- 1/2 tsp baking powder

- 1/4 tsp baking soda

- 1/2 tsp vanilla

- 1/2 tsp cinnamon  (or more)

- 1 egg

- 1 cup milk

- 1 tbs apple cider vinegar

- 2 tbs oil (coconut is lovely here)

- 1/4 red food colouring (or until you get a vibrant red-coloured batter)

- Optional: Raisins/fruit pieces/nuts

Procedures:

1-In a small bowl, combine milk and vinegar, set aside until milk curdles.

2- In another bowl, combine flour, sweetener, baking powder and soda and cinnamon.

3- In a small bowl, whisk the egg, vanilla, oil and curdled milk until well-incorporated.

4- Gradually pour the liquid mix onto the dry mix while whisking slowly.

5- Add your food colouring in small amounts and whisk after every addition until you reach that red velvet colour. Don't over-mix or the pancakes would be tough. The batter should be a little lumpy and bubbly.

6- You can now add whatever you'd like, i.e. raisins/fruit/nuts/dark chocolate chips

7- Lightly brush a nonstick pan/griddle with coconut oil. Heat it over medium heat.

8- Ladle the batter and pour into the pan. I like to keep my pancakes small and even by using a 1/3 measuring cup as a ladle. 

9- They are ready to be flipped oncy tiny bubbles form on the surface.

10- Makes about 4-5 pancakes.

Sunday, August 24, 2014

Cheat Dessert: Zebra Cake

Hello lovelies,

Well, it's been a while since I last posted something on the blog. I've been bad! Work and housework combined are not really my cuppa tea. Anyway, I chose something fun, though not very "fit", as a comeback; Zebra Cake. There's nothing special about it except that it has a zebra pattern all through, which makes it pretty self-decorated. It's very impressive and looks like a ton of work. It is kind of a hassle, but very basic and needs absolutely zero skills. I assure you it would be a lovely crowd-pleaser and you'll be asked to do it on birthdays.
I first saw Lorraine Pascale do it, and was blown away. It took me a long time to pluck up the courage and do it, but it was definitely worth it. If you're on a healthy lifestyle like me, it would be a nice monthly or fortnightly treat , if you've got a lot of people around to finish it for you. I repeat, do NOT have your cake and eat it too, by yourself!


I used sugar substitute instead of sugar, but you can definitely use regular sugar. I use IsoSweet, which is an Egyptian fructose aspartame-free sugar substitute. It has two kinds; one for drinks and cold desserts, and another for baking. I used the baking kind here. You can definitely use any equivalent of choice, just make sure it's aspartame-free.
I also used unsweetened cocoa in the recipe, but you're free to use the sweetened kind if you wish, or just increase some sugar.

You'll need:

-2 cups sifted flour
-3 heaping tbs cocoa powder (I used raw unsweetened cocoa)
-1 cup sugar substitute/sugar
-4 eggs
-1/2 cup oil (I used heated coconut oil)
-1/2 cup milk (skimmed)
-1 vanilla sachet (1 tsp vanilla extract)
-1 baking powder sachet (15-16 g)
-1/4 tsp salt


Directions:
- Preheat oven to 180 degrees Celsius.
- Using an electric mixer or food processor, beat the eggs with the sugar until sugar is almost dissolved completely.
-Add oil, and continue beating.
- Add milk and salt and continue beating until frothy and pale yellow.
- Take 3 tbs off the four and set aside. Now your 2 cups flour are minus 3 tablespoons.
- Start adding the flour gradually and mixing till all is incorporated in the batter with no visible white streaks.
- Add the baking powder last and mix in using a wooden spoon or a spatula, not the mixer/food processor.
- Now divide the batter into 2 equal parts in two separate bowls. On one half, add the 3 tablespoons of cocoa and mix in with a spatula till well-incorporated in batter.
- On the "white" half, add in the 3 tbs of flour that you set aside. Mix in with a spatula.
- Your cake batters are ready.
- Prepare a 20-cm baking pan by lightly brushing with coconut oil/cooking spray/margarine then lightly sprinkling flour to coat it all, and finally getting rid of excess flour.
- In the center of the pan, carefully add 2 spoonfuls of white batter, then in the center of the white spoonfuls, add 2 spoonfuls of brown batter.
- Keep alternating between the white and the brown batters, 2 spoonfuls of each a time in the center of its previous "blob" till the batter is all done.
- Bake for 20 - 30 minutes until a toothpick comes out clean.
- Leave to cool completely before cutting.


My camera was dead, so I only took this terrible pic with my phone. Sorry! I promise it looked much better than this.


Wednesday, January 8, 2014

Skinny Chicken Shawerma Wraps

Most people love shawerma for its tasty convenience, but it's usually super greasy and heavy, with fat almost dripping off. Yuck!
Here's my healthy version of a family favorite.


You need:
• 4 Boneless, skinless, chicken breast fillets
• 2 medium tomatoes, chopped
• 2 bell peppers, chopped
• 1 small onion, roughly-chopped
• 1 spring onion, chopped
• 1 medium carrot, grated
• 1/4 cup LF buttermilk
• 1/2 tsp coconut/olive oil
• 1 and 1/2 tsp salt (to taste)
• 1/4 tsp each of ground pepper, cardamom, ginger, cinnamon, all-spice, sumac and shawerma seasoning.

P.S. I found the latter in the spice section of a local department store(Fathalla), but you can try any local spice shop/section. If unavailable, replace with 1/4 tsp each of turmeric, ground cumin & cayenne pepper.

Steps:
1. Slice chicken into thin strips, then cut the strips into small bits.
2. Brush a non-stick skillet with olive/coconut oil, then heat it over medium heat.
3. When oil is hot enough, put the chicken bits in, along with pepper, 1/2 tsp salt, cardamom, ginger and cinnamon.
4. Stir "fry" the chicken until cooked through, about 10 minutes.
5. Add onions, stir until translucent. Add carrots and spring onion. Cook vegetables till softened.
6. Add the rest of seasoning/spices; salt, all-spice, sumac and shawerma seasoning/ spice blend, and mix well.
7. Pour the buttermilk in, cover  and leave to simmer on low heat for about 10 minutes. 
8. Serve hot in wholegrain flat bread (Brown Lebanese bread), with tahini/yogurt sauce and your desired salad. I served mine with beetroot tahini sauce and carrot-cucumber salad. 

Monday, January 6, 2014

Veggie Goodness: Healthy Cauliflower Carrot Mini-burgers

Clean cauliflower and carrot burgers: 

-About half a cauli divided and boil-cooked in salted and generously cumin-ed water till soft. 

- 1 big carrot, peeled and grated. 
- 2 Tbs whole-grain bread crumbs 
- 1 egg, beaten ( use more bread crumbs or oats if you're vegan/vegetarian) 
- Salt, pepper, paprika, cumin, oregano, ginger to taste 
- Parsley/coriander (optional) 

● Put the cooked cauli in a strainer. Using a masher, smash the florettes down, squeezing any excess liquid out as you do. 

● Add the grated carrots, egg, crumbs, spices and mix well with your hand until the mixture is sticky and doughy. If you feel it's too dry, add another. It depends on the size of the eggs. 
● Form the dough into mini-burger patties and you can either bake them in a preheated 180 degree oven or grill them on a sparingly-greased non-stick skillet for 3 min.on each side. 
● If in the oven, make sure you use lightly greased parchment paper or a non-stick baking tray, top and bottom-heated oven, until golden brown. Don't forget to tag me if you make them. 
Veggie Mini-burgers